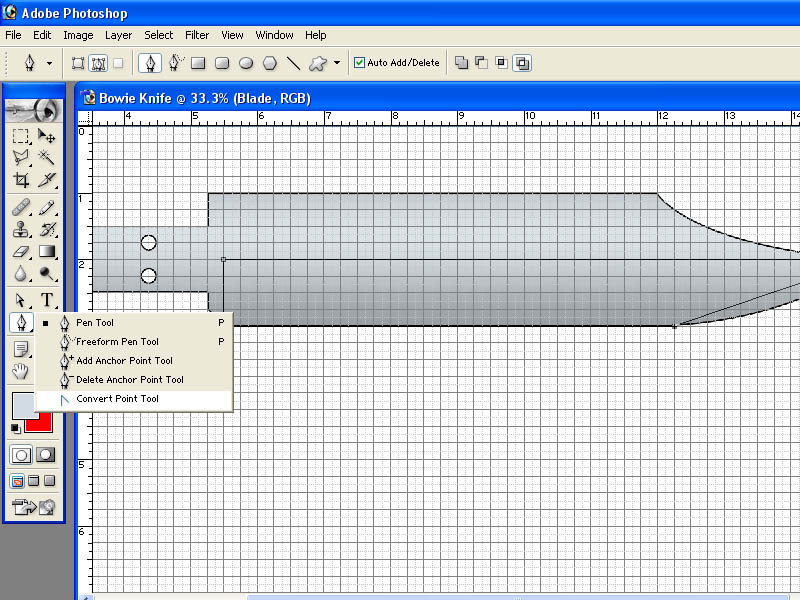
Now we are going to add a grind to our blade. This will be done on a a separate layer AND path.
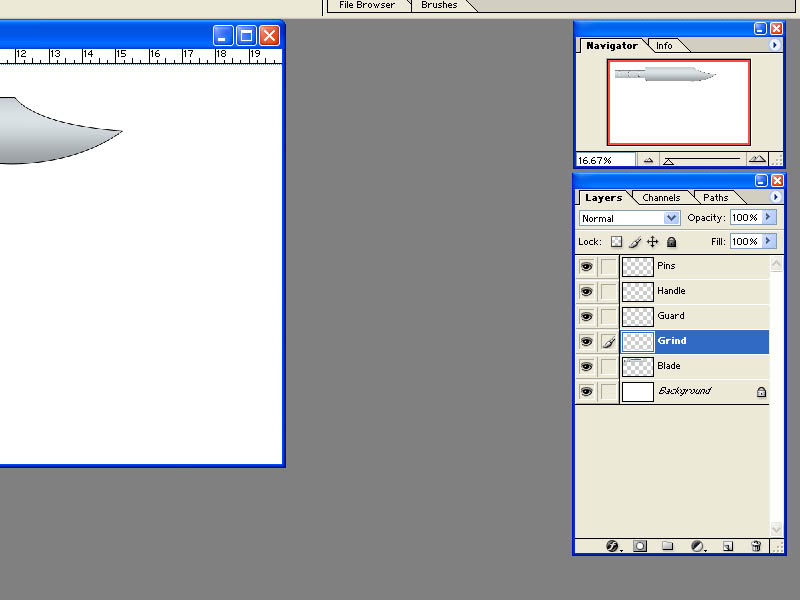
In the "Layers" tool box, click on the "Grind" layer to highlight it as the active layer. You should also see the paintbrush icon next to it to indicate it is the active layer.
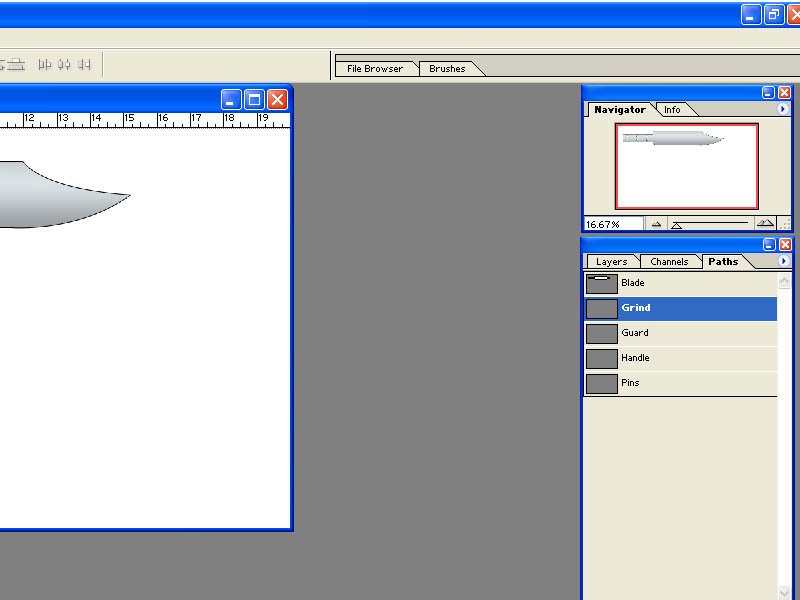
Now click the "Paths" tab in the "Layers" tool box and then select the "Grind" path.
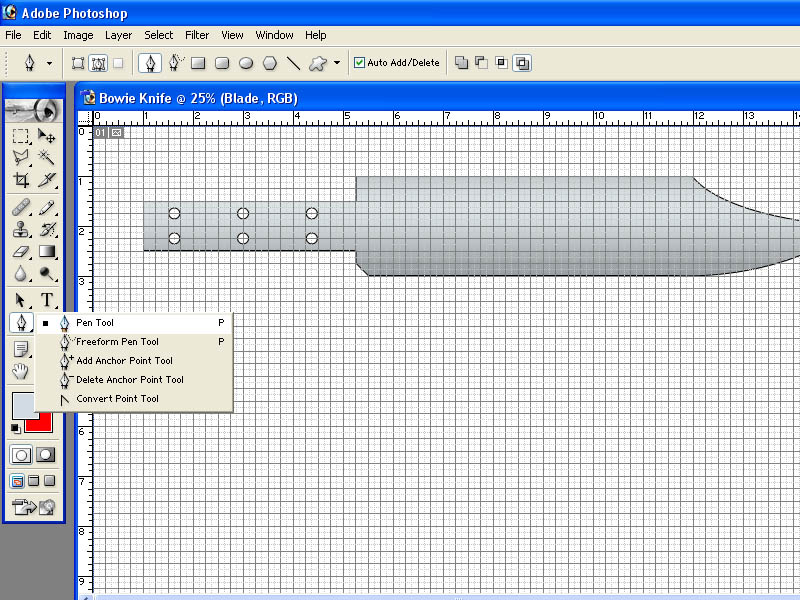
Let's turn our grid back on to help us draw our new path.

And we will again need our "Pen" tool to draw our lines and anchor points.
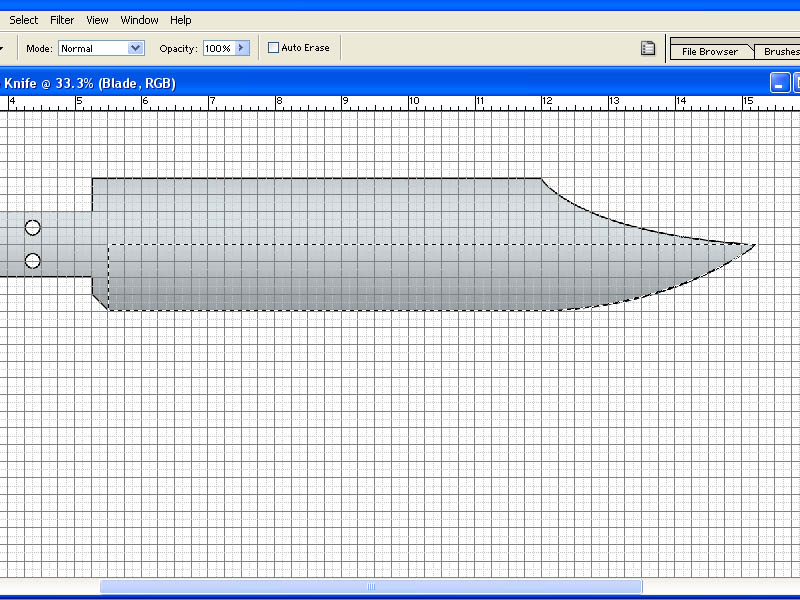
Now, using the "Pen Tool", draw your grind line as shown below. Be careful to keep it aligned with the tip and bottom edge of the blade.
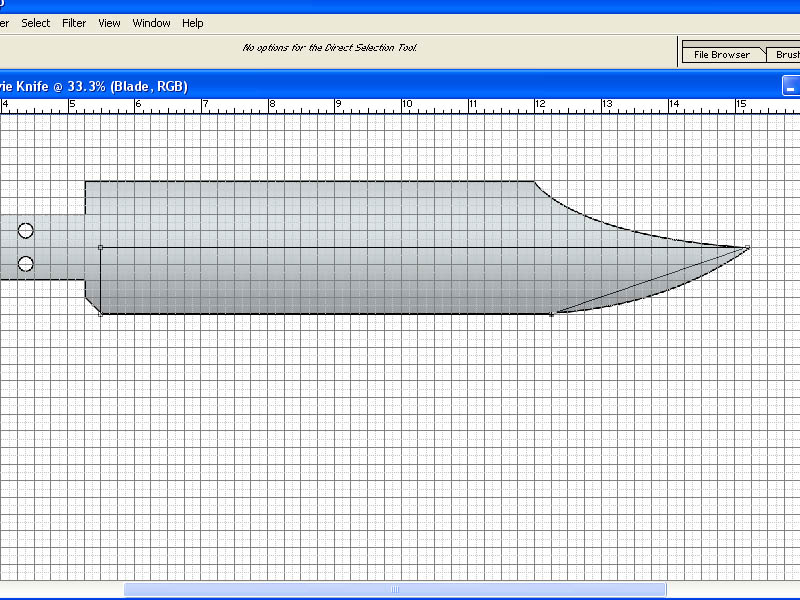
Now select the "Convert Point Tool" so we can add the curve to the front of the blade.
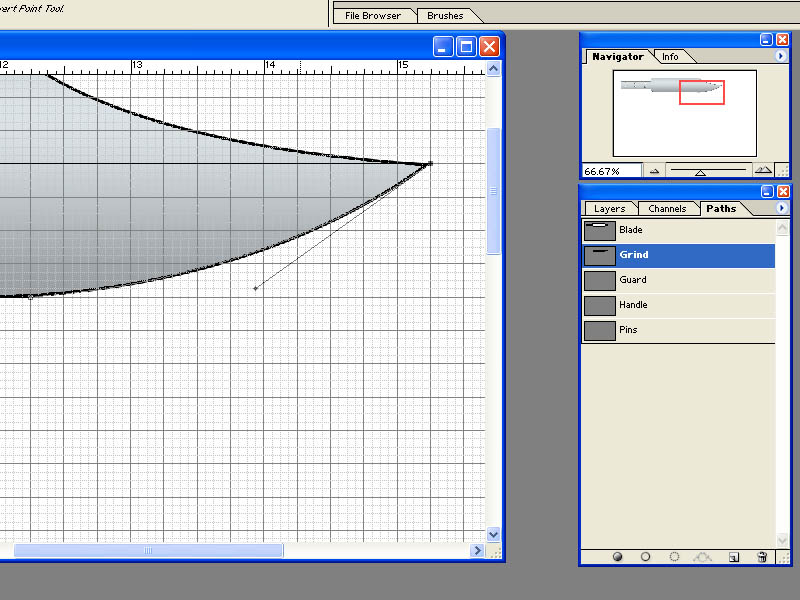
Just as we did when we drew the blade path, left click and hold on the anchor point at the tip of the blade. While holding down the left mouse button, drag the mouse a little to stretch out our control points. In this case, we don't need a curve on the top portion so drag the upper control point back to the center and then drag the lower control point until the curve matches the curve of the blade. Remember that you can zoom in with your "Navigator" control to get a closer look for more precise work.
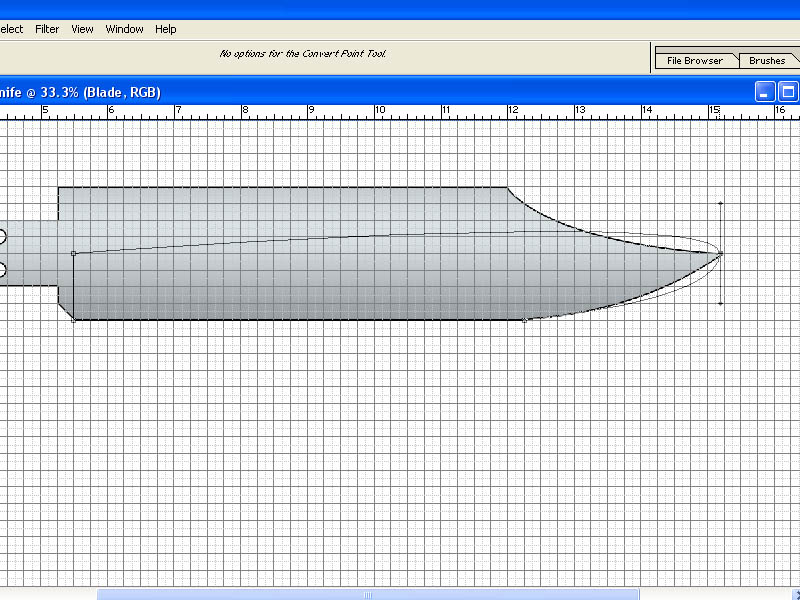
Your tip anchor point should look something like this (below)
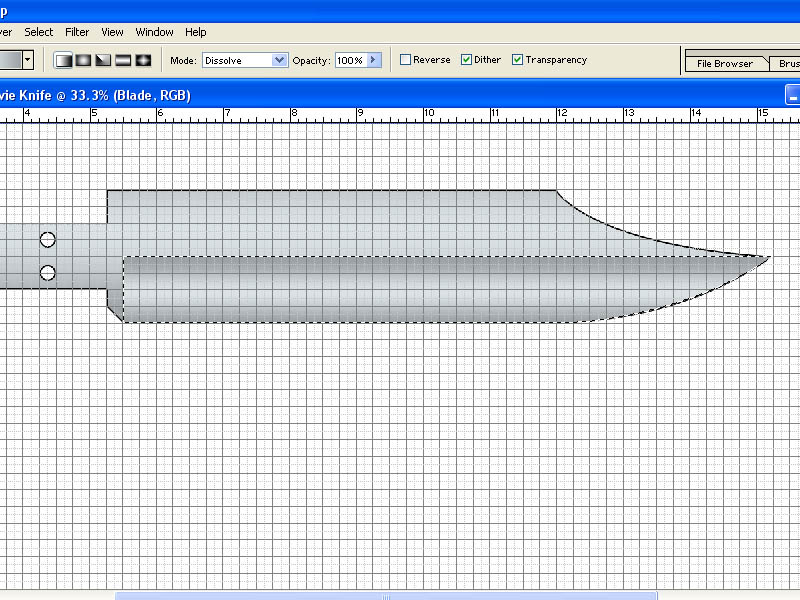
Now we want to highlight our new path. Click the "Load path as a selection" button at the bottom of the "Paths" tool box.
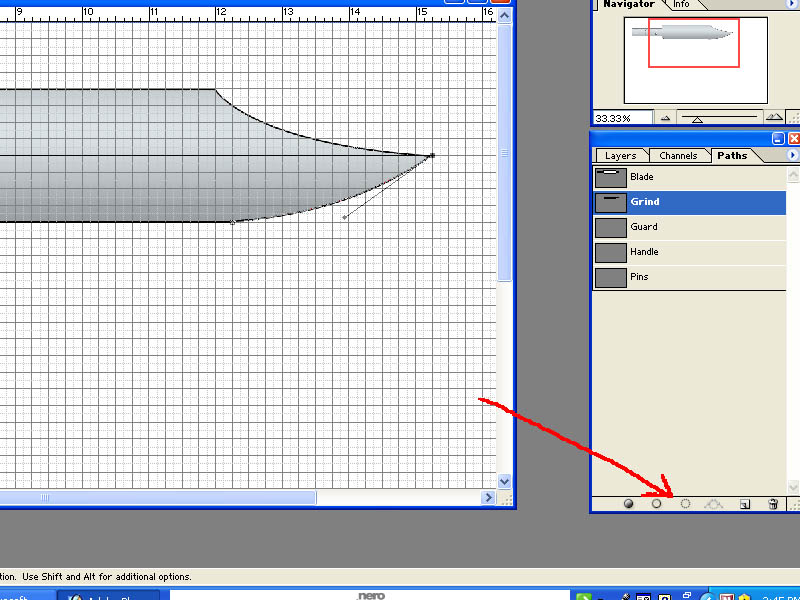
You should now see your new path outlined with hash marks.
Let's add a gradient to the grind to make it stand out from the blade. We can use the same gradient we used for the blade so it should still be the active gradient when you click on the "Gradient Tool". Click and hold at the bottom edge of the blade and drag your line to the top of the grind line.
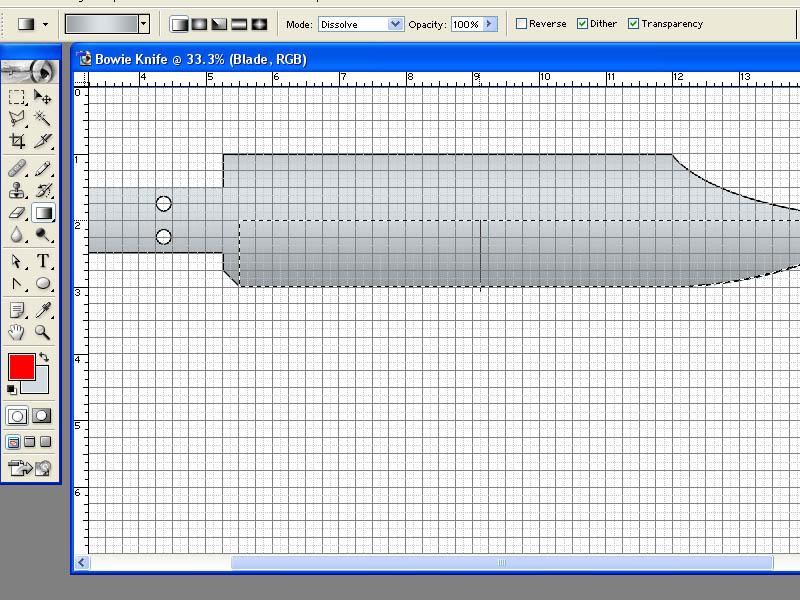
Now you should see your grind with it's own gradient.
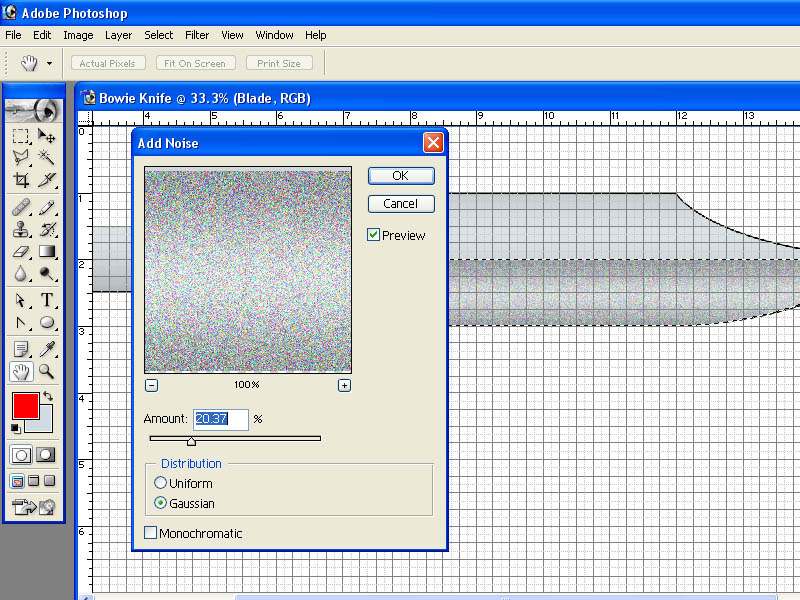
Here is something new we are going to do to give our drawing another little realistic detail. From the "Filter" menu at the top of the screen, go down to "Noise" and then "Add Noise".
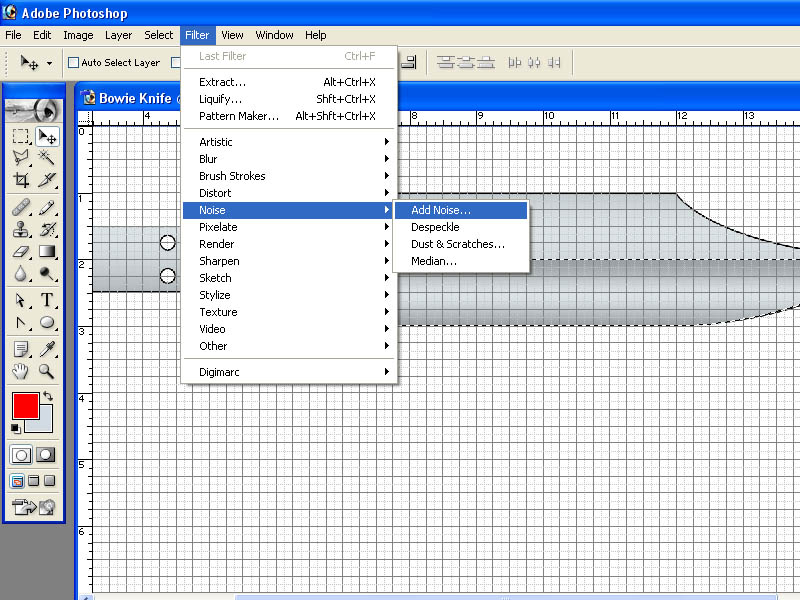
This will open the "Add Noise" window where you can adjust how much noise to add. Set the "Amount" to around 20% either by typing the value into the "Amount" box or by moving the slider below it. Make sure the "Gaussian" button is lit and then click "OK" in the "Add Noise" window to close it.
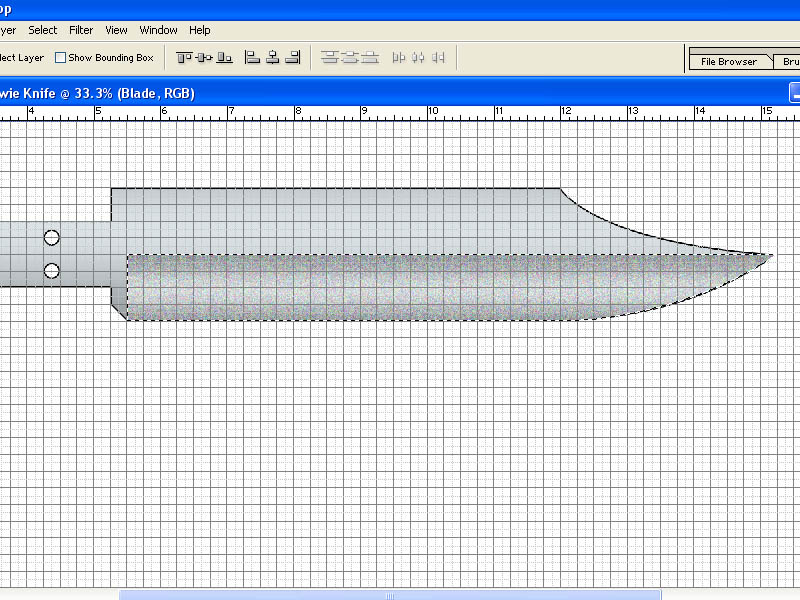
You can see the effect of what we just did but we are going to add one more step to make this look like a grind.
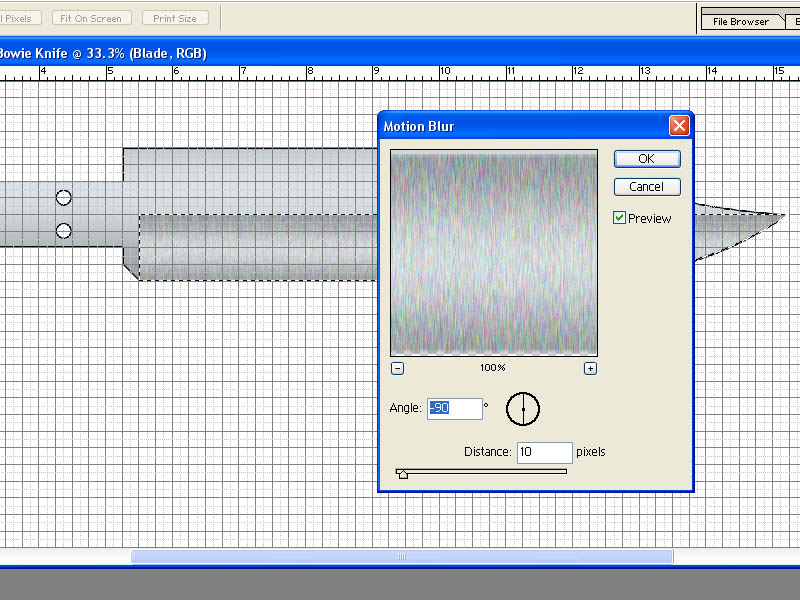
Go back to the "Filter" menu at the top and this time select "Blur" and "Motion Blur".

This will open the "Motion Blur" window where we can adjust it. Set your "Angle" to +90 or -90. You can type the value into the "Angle" box or you can drag the line in the circle next to it until it is straight up and down. Click "OK" in the "Motion Blue" window.
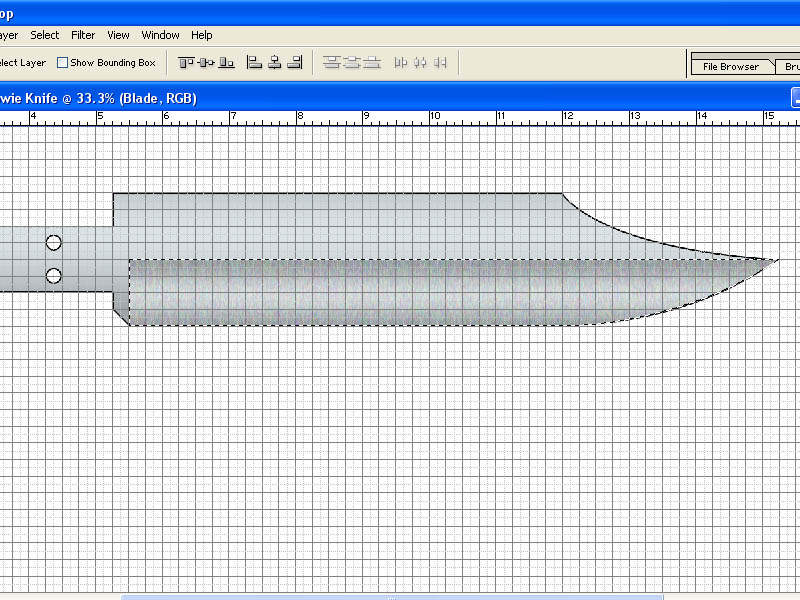
You can see how we added "noise" and then blurred the "noise" to make it look like a ground blade. Since we had our path highlighted, the change only affected the highlighted portion and nothing else in the drawing.
Now "Deselect" our path from the "Select" menu at the top.
Turn the grid off in the "View" menu.
Click the "Layers" tab in the "Layers" tool box.
Now click the eyeball next to the "Grind" layer a few times to turn the "Grind" layer on and off.
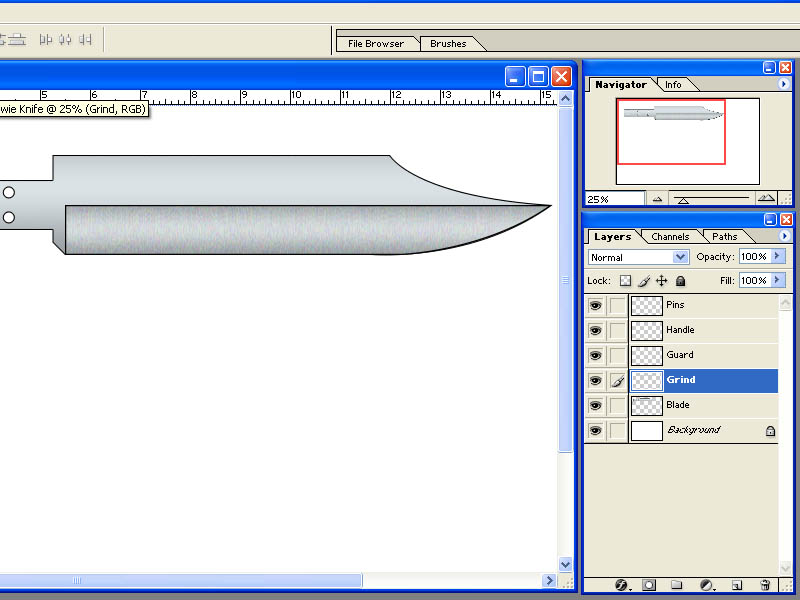
Pretty cool, huh?
This is the power of "Layers". Say we decided that we didn't like that grind and wanted to try something else. We could redo just the "Grind" layer and path without having to redo the whole drawing. We are not going to change it in this tutorial but I hope you get the idea.
Our drawing is starting to look like a knife isn't it? Let's continue with making a brass guard for our Bowie knife. The process should start becoming familiar to you by now so this should go pretty quick and easy. Even though we are going to be drawing on the "Guard" layer, the other layers will still visible as long as the eyeball icon is present next to the layer.
Click on the "Guard" LAYER.
Now, click the "Paths" tab and then click the "Guard" path.
Turn the grid back on.
For this tutorial I am going to draw a simple lugged guard. Now that you know how to makes curves we could make a nice S guard or just about anything you can imagine but for the sake of time and space we do the lugged guard. Remember that we allowed 1/4" on the handle to accommodate the guard. This is where our grid helps as it will be easy to "snap" our lines to the appropriate grid lines to get exactly 1/4" thickness.
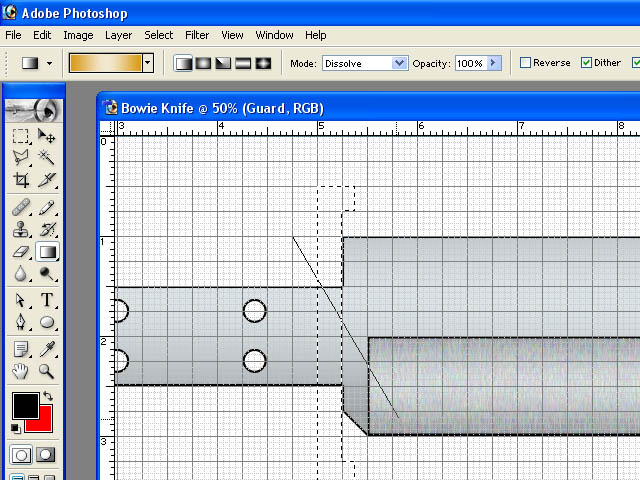
Select your "Pen Tool" and let's start drawing the guard. Remember that that you can always move your anchor points and lines around with the "Direct Selection Tool" to get things where you want them.
Try to do a guard like the one shown below.

Now you can see why I left a little room around the blade instead of starting at the very top of the page. You can move things if you need to but I always like to start with a little extra room to work.
You can also see by the grid that our guard is 3" long, 1/4" thick where it meets the blade, and 3/8" thick at the lugs.
Now, let's highlight out guard "Path" and fill it with some color. We want the guard to be brass so we will make a new gradient to fill it. In the "Gradient Editor" I just chose one of the pre-set gradients and modified it. I made the ends of the gradient bar a golden shade and the middle closer to white to simulate light gleaming off of it.
Play around with the gradients sometime. Try making one with more color stops and different colors. You might be surprised at what you will come up with.

When filing the path using the "Gradient Tool", this time I made a downward stroke from left to right.
Next I outlined it in black using the "Stroke" function under the "Edit" menu. The reason I fill first and stroke last is because if I did the stroke first, the fill would cover it especially since I have "Stroke" set to draw the black lines inside the path outline.
And here is my result
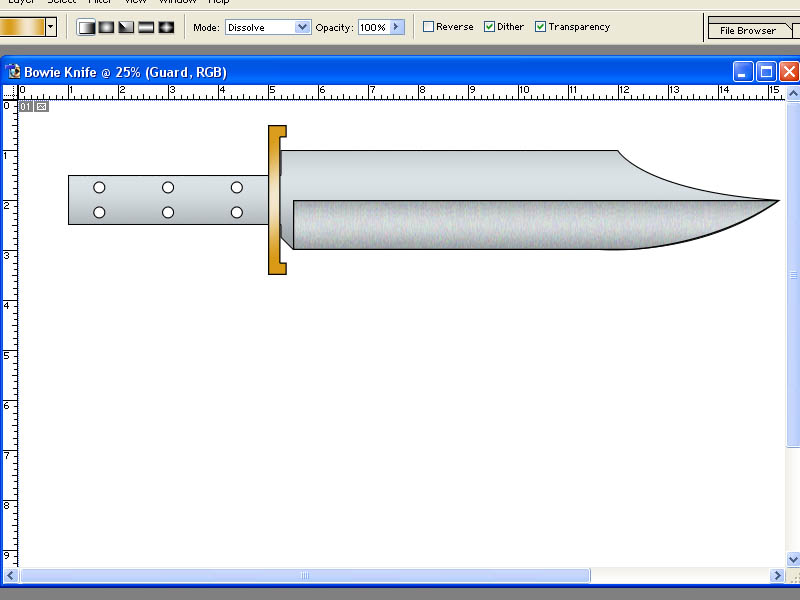
You might notice a little gap between the guard and the blade. The reason it looks like there is a gap is because I had "Stroke" set to draw inside the path. If I were to cut the pieces out to use as a template and cut just outside the lines, it would be correct. That's just my preference. You can try "Stroke" set to "Inside", "Center" or "Outside" to see what works best for you.
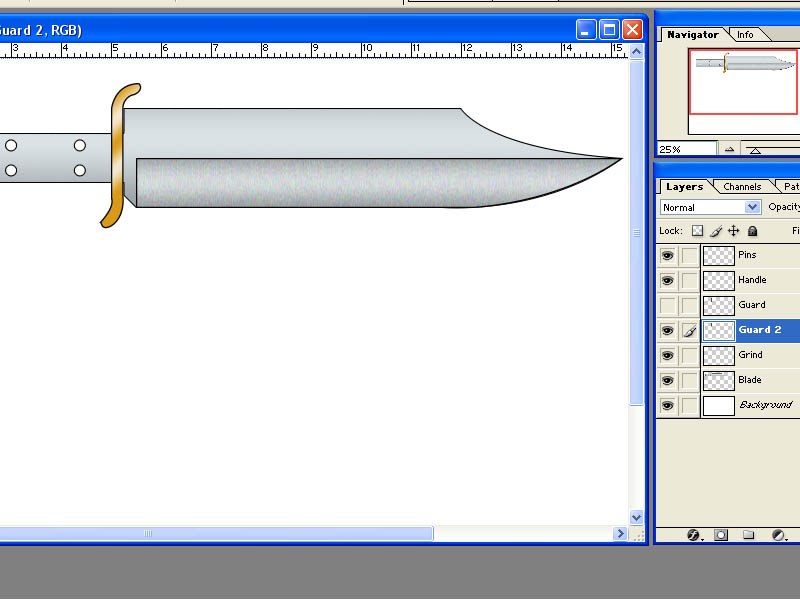
Just for giggles and to further illustrate the power of LAYERS, I quickly drew a second guard of a different style. Notice in my "Layers" toolbox that I now have a layer named "Guard" and a layer named "Guard 2". I can turn either one on or off to see which I like best. In case you are following along with this tutorial using Photoshop I will go back the original guard that we drew.
At this point, I will introduce you to another tool before we finish our drawing with the handle and pins. In "Layers" click to make your "Guard" layer the active layer. Now select the "Move Tool" from the toolbox on the left.
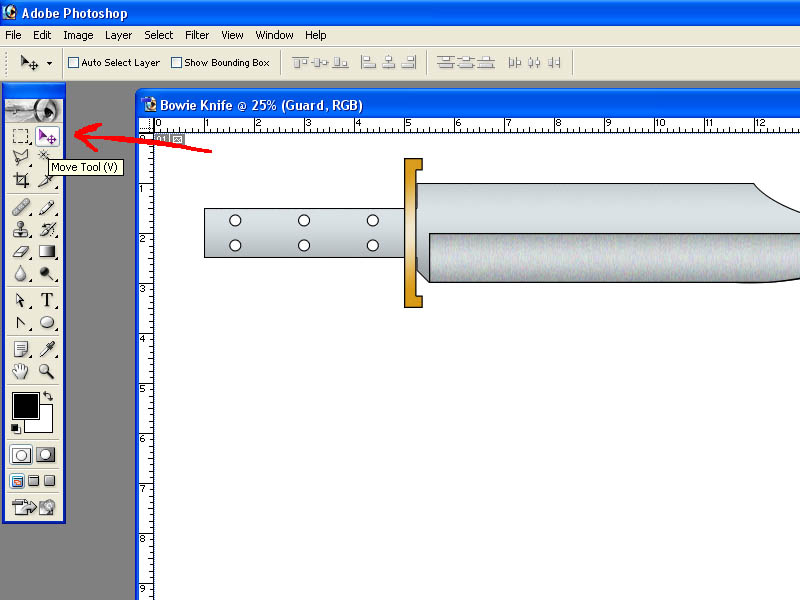
Now click on the guard (or anywhere on the canvas) and while holding the left mouse button down move the mouse around. You can do this with whatever layer you have active. You can use "Undo" or "Step Backward" from the "Edit" menu to put something back where it was or else turn on your grid and manually move it back to where you want it.